GETTING STARTED
Quick Guide
Some keystone tips to help you get up and running.
Welcome!
Thank you for wanting to test drive our platform, we hope you enjoy using it and have some fun. Here is information to help you get up and running:
First Time Setup
1. Update Your Chrome Browser Settings
MEC creates Estimates and Invoies as PDF files. You can preview PDF’s in a Chrome browser instead of downloading. This setting significantly improves viewing speed. In the Chrome browser, select the three vertical dots in the upper-right corner.
- Choose Settings > Privacy and security.
- Select Site Settings > Additional Content Settings (at bottom of page)
- Select > PDF documents.
- Select > Open PDFs in Chrome
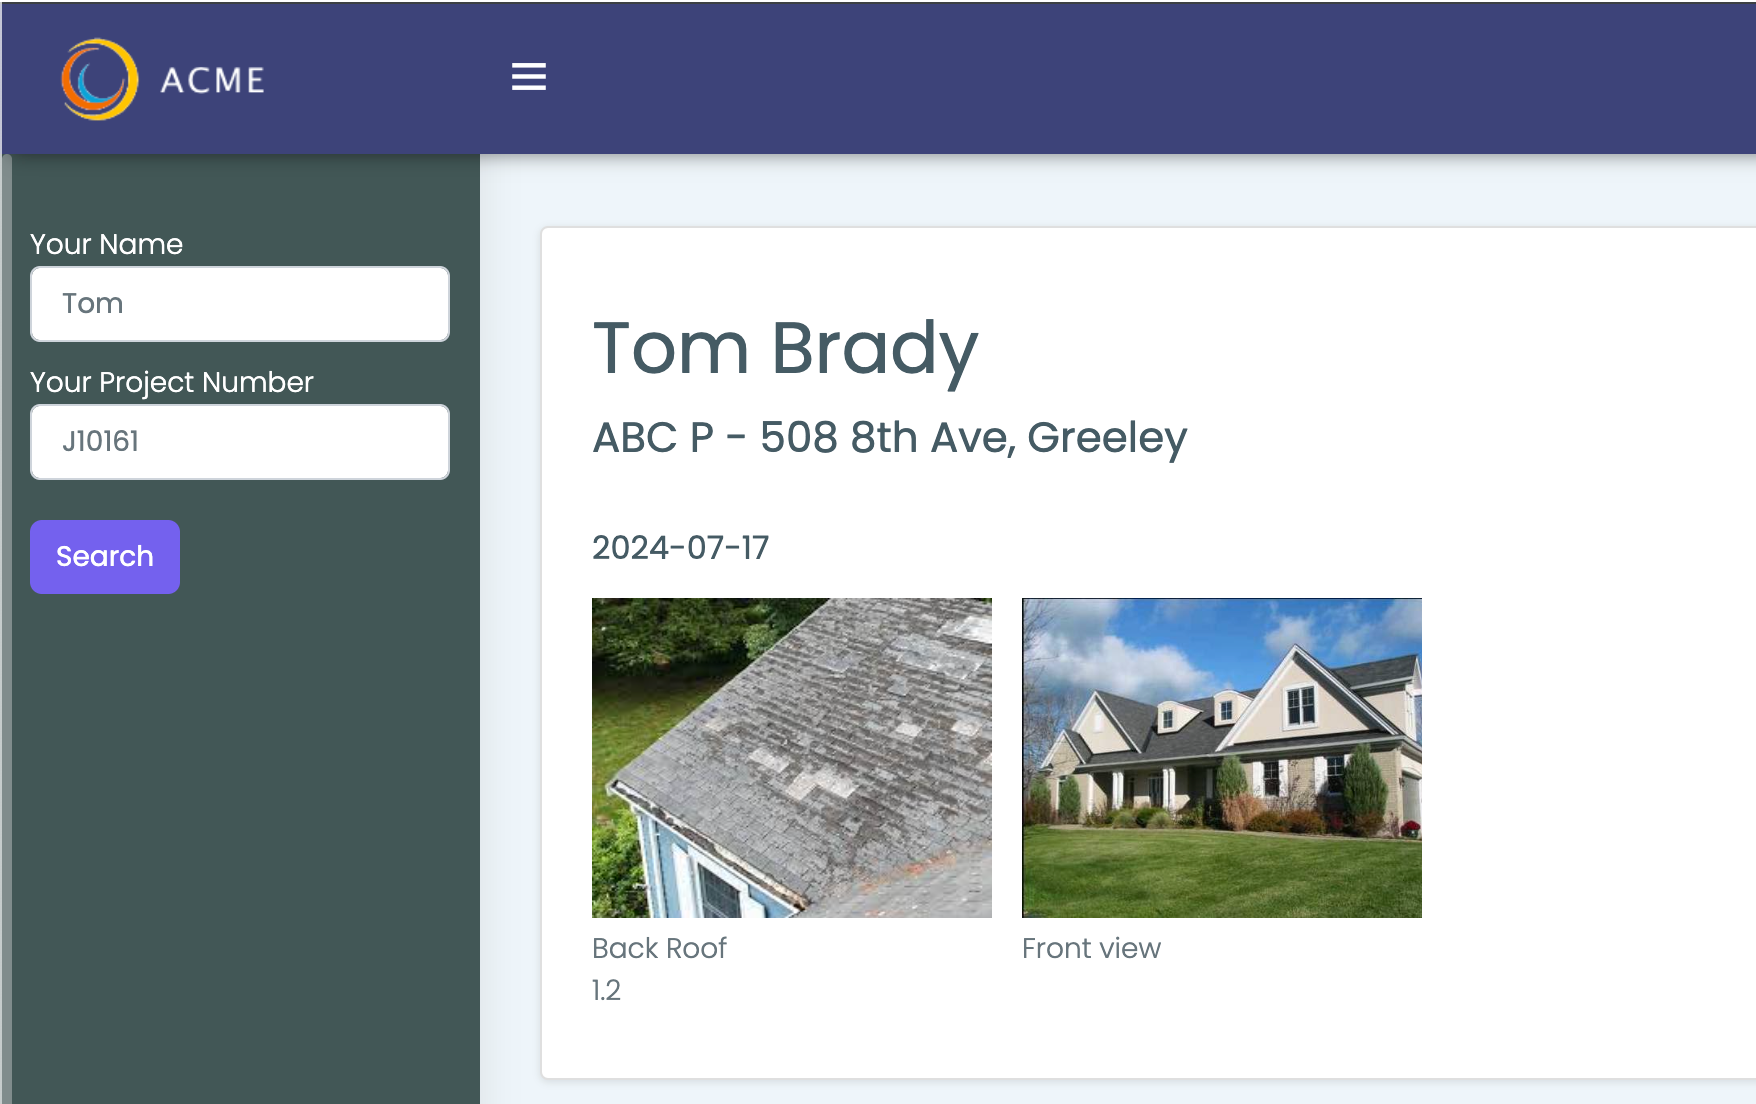
2. Setup Mobile Access
To access MEC on your Phone or Tablet go to app.mecpro.co in a browser on your device.
3. Update Mobile Home Screen
- Go to the MEC Pro login page above
- Apple: In your mobile Browser tap the ‘square box with up arrow’ icon
- Choose “Add to Home Screen”
- Change the name to MEC or your choosing
- You will now see the MEC icon on your mobile device

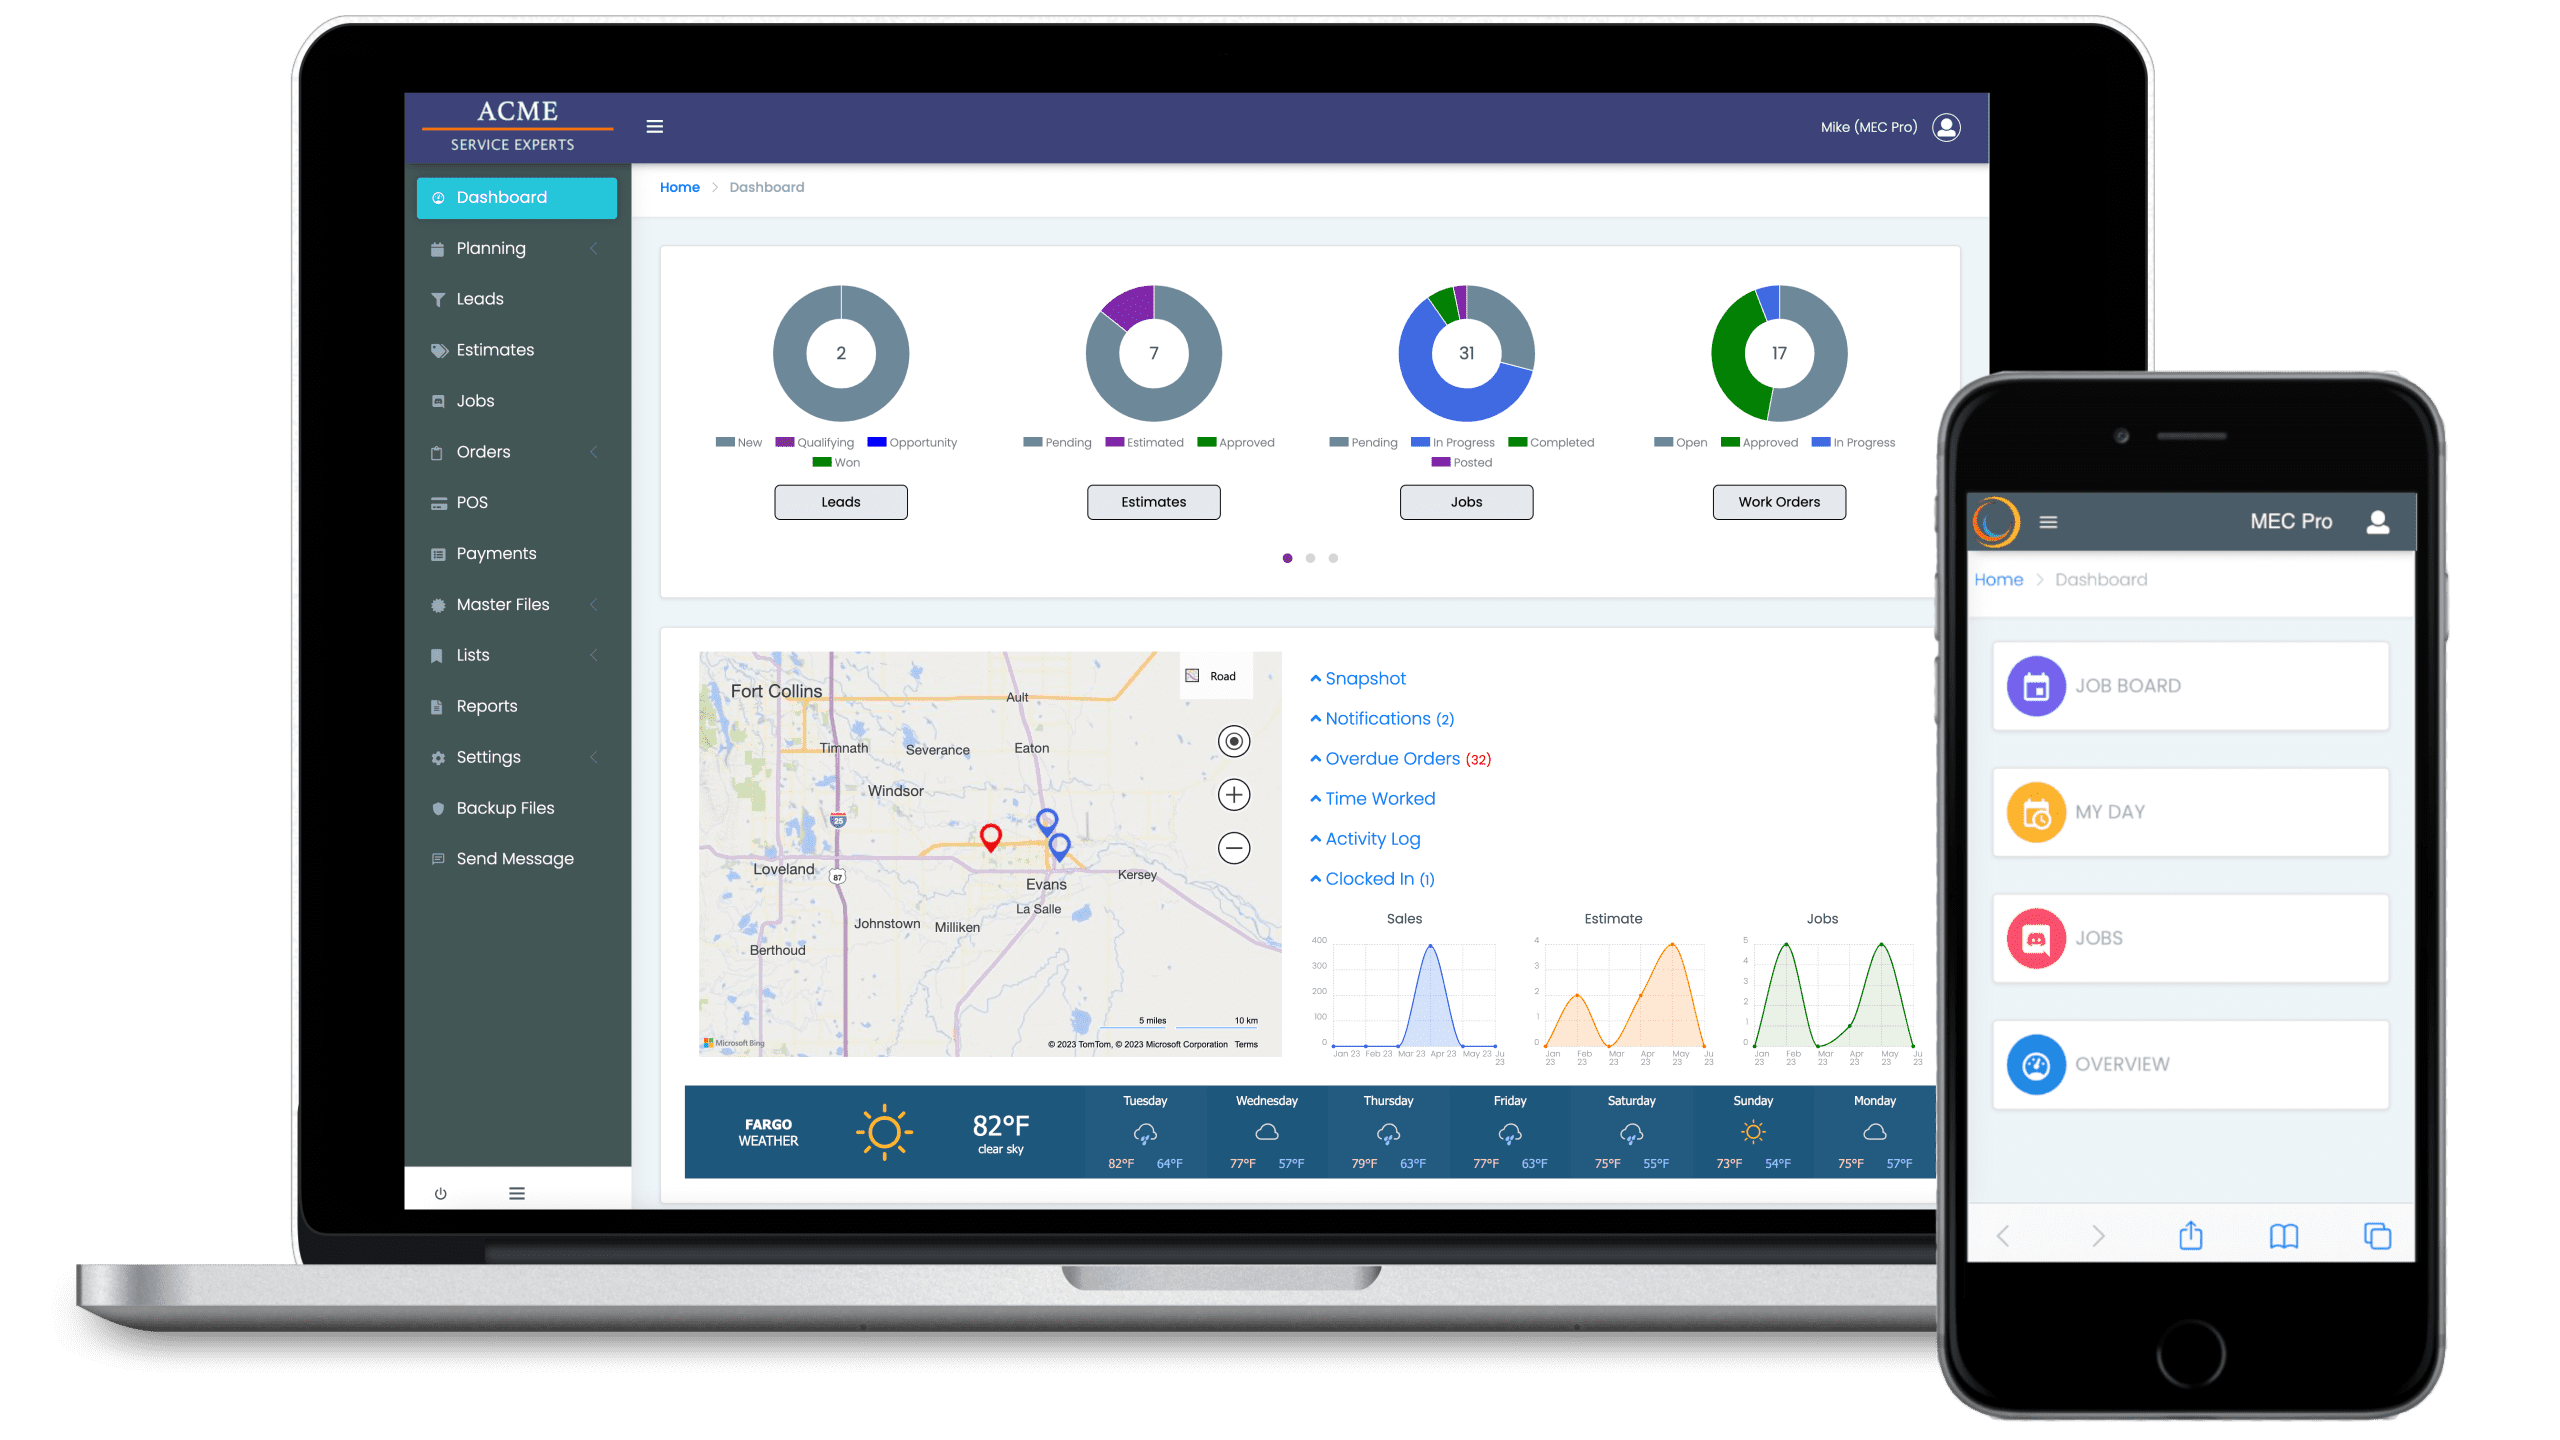
4. MEC Dashboard
When you fist login you will be taken to the “Dashboard” page that initially will show very little graphical content. As you create estimates, jobs, track time, and invoice the dashboard will fill up with information and become more meaningful to you.
5. Understand the Process
The basic work flow for MEC has three main steps.
Step 1 – Estimating: Create an Estimate and send to Customer for approval.
Step 2 – Job Management: Jobs are created in one of two ways. It can be created by approving an Estimate or, created directly from the Jobs page.
Step 3 – Final Invoicing: when the job is completed you can send the customer an Invoice from the Job page.
Setting Up Your Company
To complete the setup you need to set up information specfic to your company. This is a once-off excercise.
1. Setup Company Details
- Go to the “Settings/Company” page and add your business details, tax rates, contact information (important).
- Look through all the tabs and look for things you need to change to suit your business
- Here is where you can upload Logos and adjust color schemes for your businss
2. Setup Your Default Terms & Conditions
- Go to the “Settings/Company” page and click either the “Invoices” tab or the “Estimates” tab.
- Update the text with your terms and conditions.
- The text will print at the bottom of your estimates and invoices.
7. Sections or Phases
- Sections allows you to group your Estimate or Job into Construction Phases. (General, Demolition, Electrical, etc) You can have unlimited sections. Sections makes your Estimates and Jobs more structured.
- In order to use Sections you will need to first do some setup. Sections are controled from your “Materials & Items” page.
- To enable the use of Sections go to the Settings/Features page and set the “Enable Sections or Phases” slider in the Business Rules section to on.
- To create a section go to Materals & Items page and create New Item. Add the section name and be sure to choose “Section” as the Item Type. Leave prices and costs as null/zero
- As soon as you have added your Sections or Phases to the Item table, you are then ready to insert Sections to your Estimate or Job
- To insert a Section go to the Job or Esimate “Items” tab and click the “Add Section” button and select a section.
- If you do not prefix your sections with a number (01-99) then sections will be sorted alphabetically which may cause confusion. If this happens then you can setup a sort sequence on the “Materials & Items” page. To setup a sort sequence, in Materials & Items page in the “Additional” section, put a value in the “Section / Phase ID” field. Its recommended to use use leading zeros in this field – example “00” through “99” so your sections are sorted correctly.

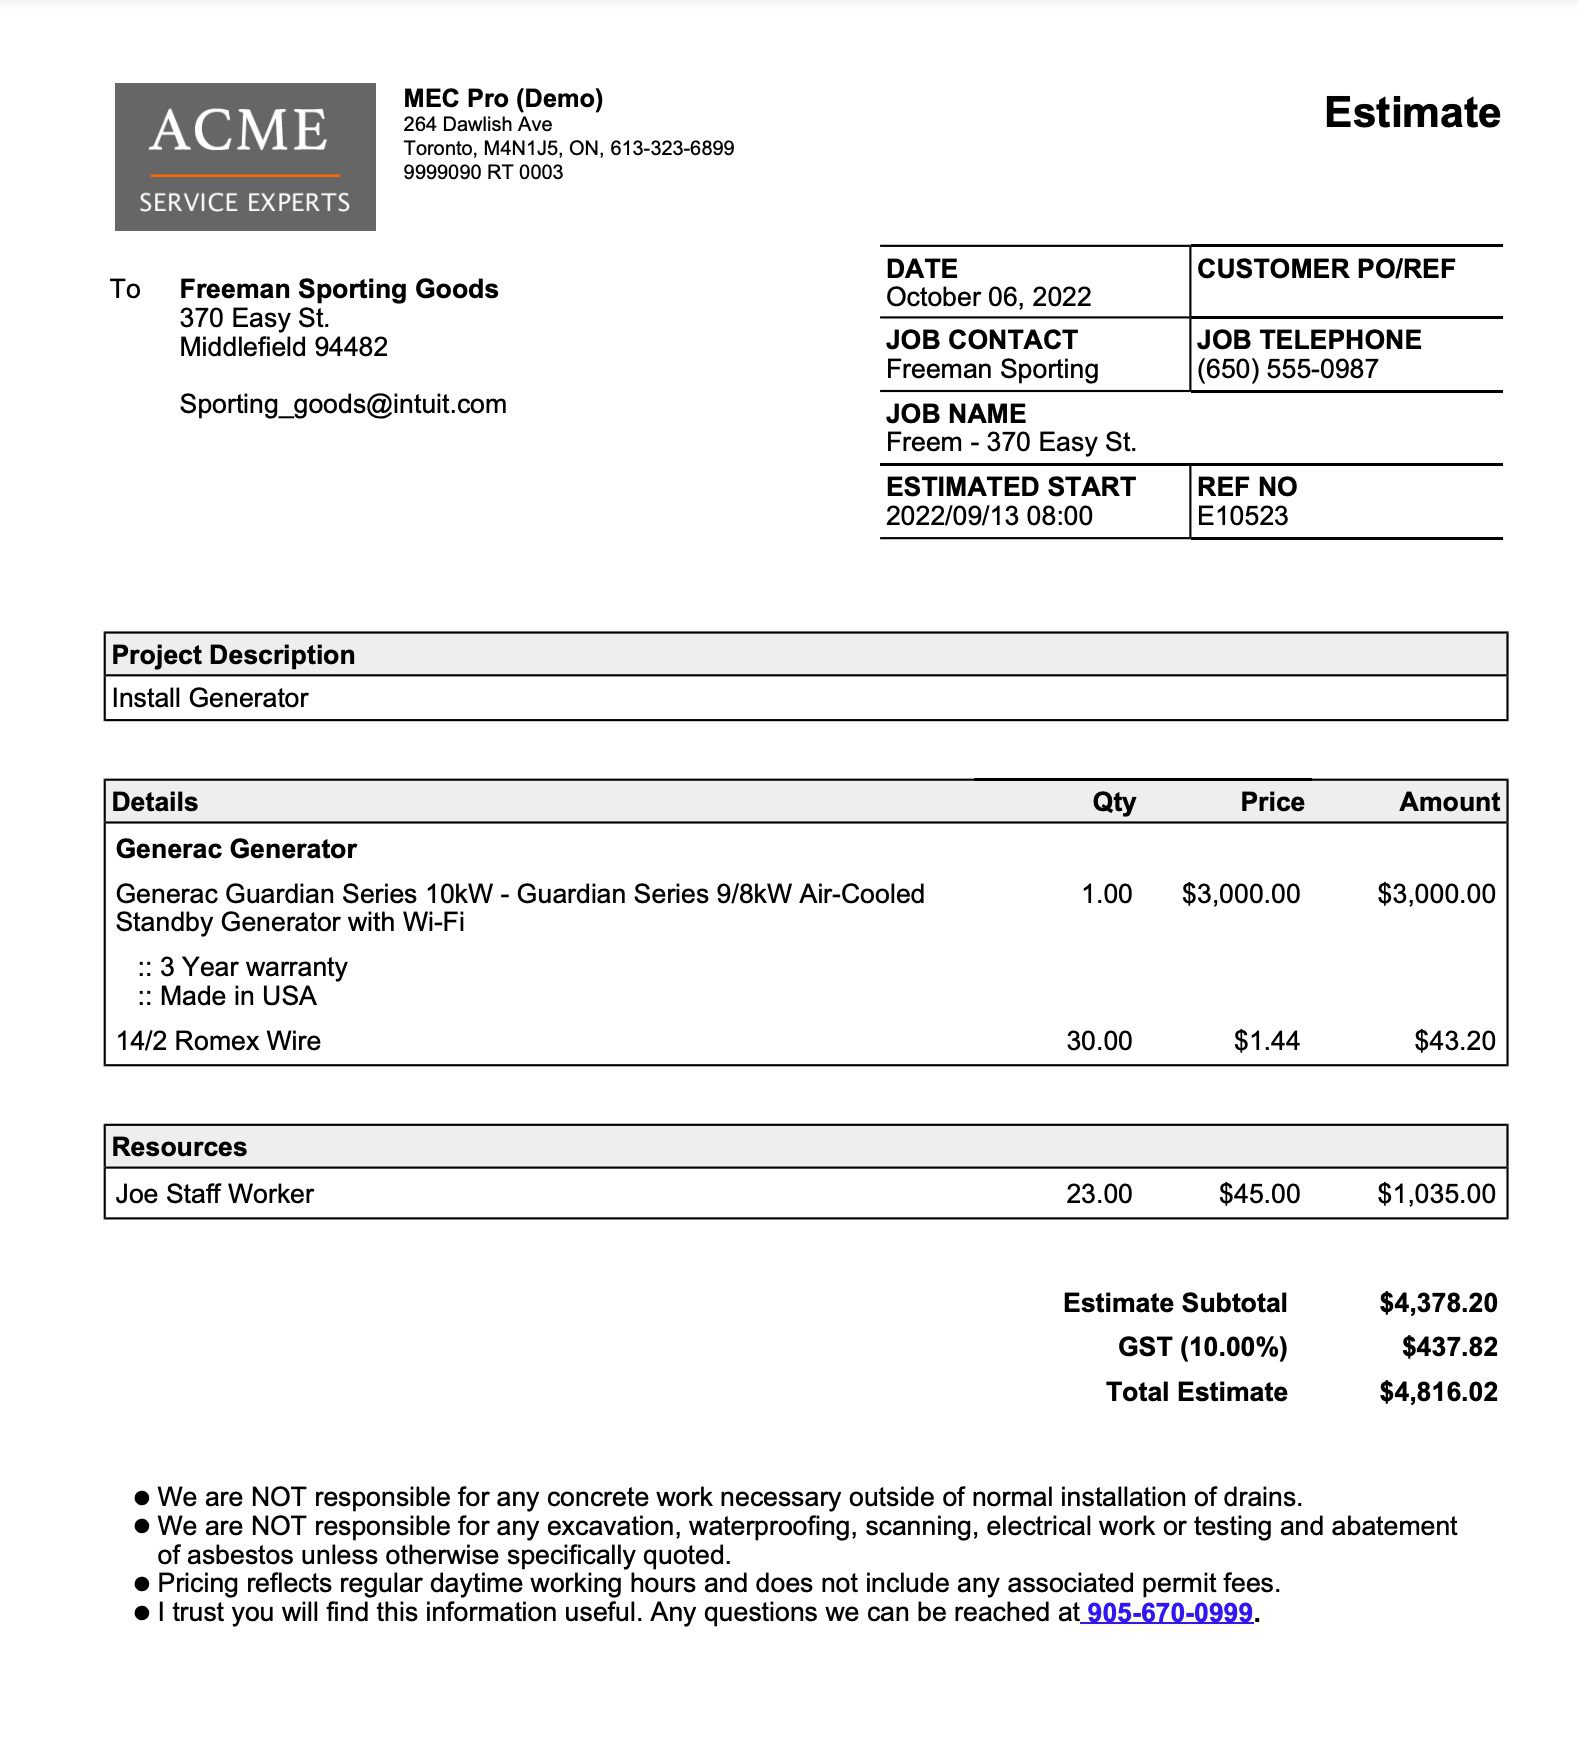
Estimates & Quotes
1. Create Estimate
2. Using Sections

3. Preview Estimate
5. Quotations
- If you are sending a customer a fixed price quote you can choose “Show as Quotation” on the View/Send Estimate page.
- If this is slected then the estimate will be rebranded as a “Quotation”
6. Customer e-Signing Estimate
- You have option to request an e-signature for your estimate by clicking “Add e-signature” checkbox on the View/Send Estimate page.
- When customer e-signs you will get a copy of the signature put into the Documents tab, a text message on your phone the estimates has been accepted and the estimate status will change to “Approved”.
- The next step is to push the estimate into the job pool…
7. Creating a new Job from Estimate
- When ready to push the estimate into the job select “Create Job” from the Actions button.
- A new job will be created – it will be a copy of the estimate
- A copy of the Estimate will be kept in the Estimates area with a status of “Job Created“.
- You will alweys have a copy of the original estimate stored in the Estimates module for future reference
- You can go to any etimate anytime and by clicking the “Duplicate” option in the Actions menu create a new estimate with same estimate but for another customer. This enables you to ‘cookie cut’ old estimastes into new ones.
8. Duplicating Estimates (templating)
- You can go to any etimate anytime and by clicking the “Duplicate” option in the Actions menu, create a new estimate with same estimate details for another cusomter.
- This can save you a lot of time if you are estimating on similar jobs